A coworkers bought a sidearm but needed a holster and wanted to learn leatherworking. He asked that I teach him basic leatherworking. He wanted to do as much of the work himself as possible so I would show him on a portion of the project and he would complete each task.
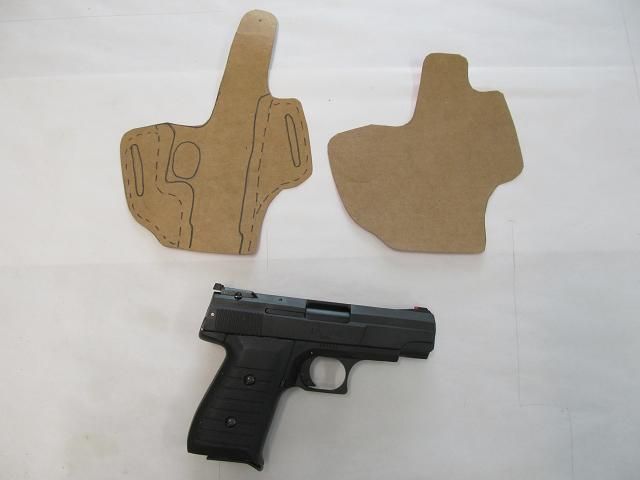
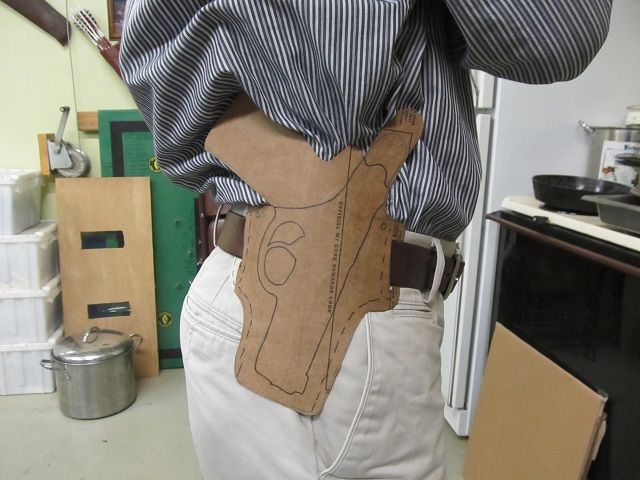
We started by making a few patterns out of cereal box paperboard until we arrived at what he wanted.
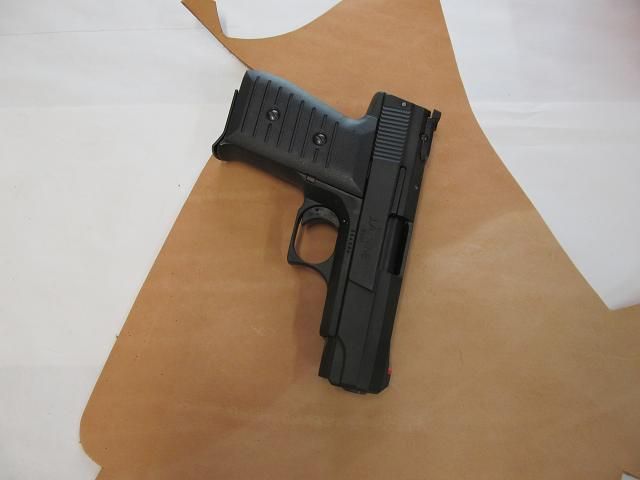
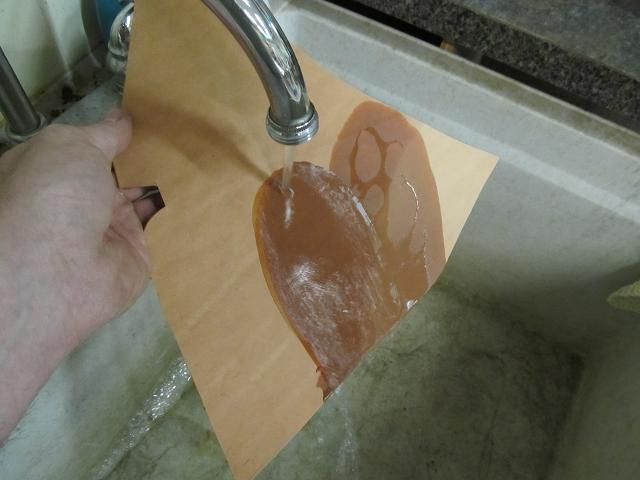
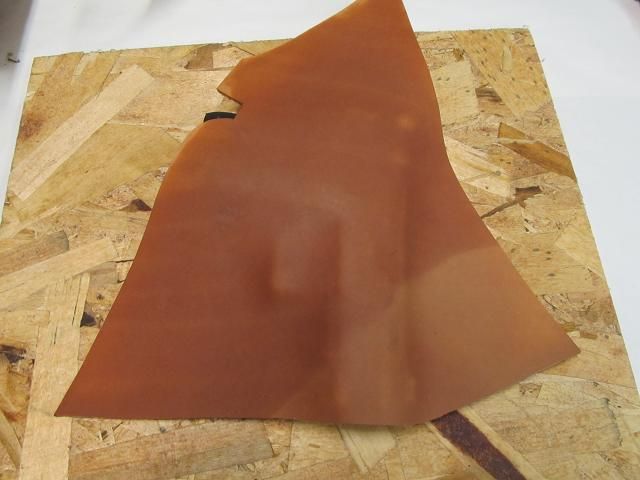
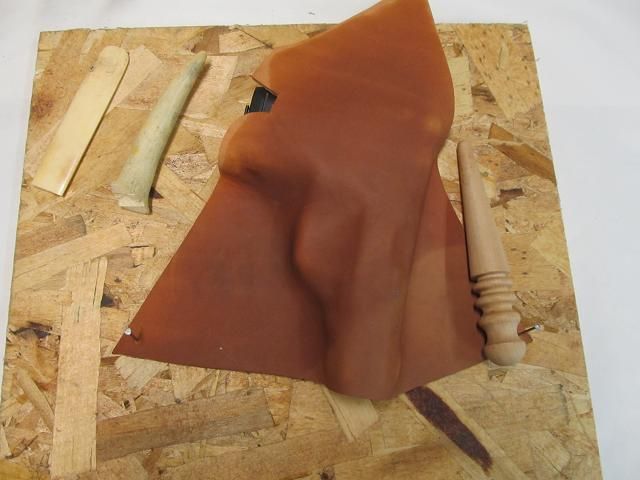
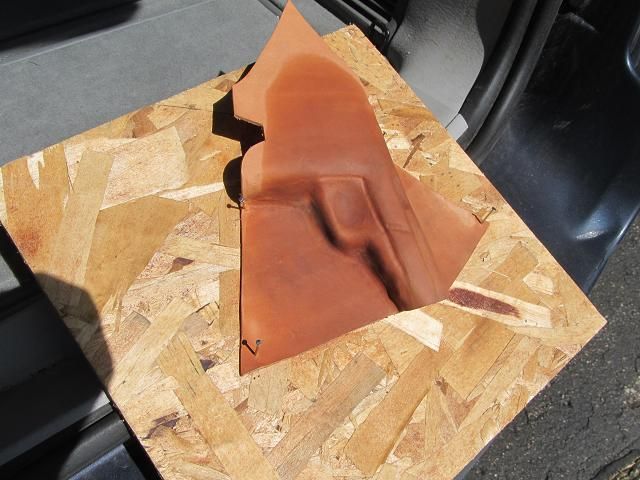
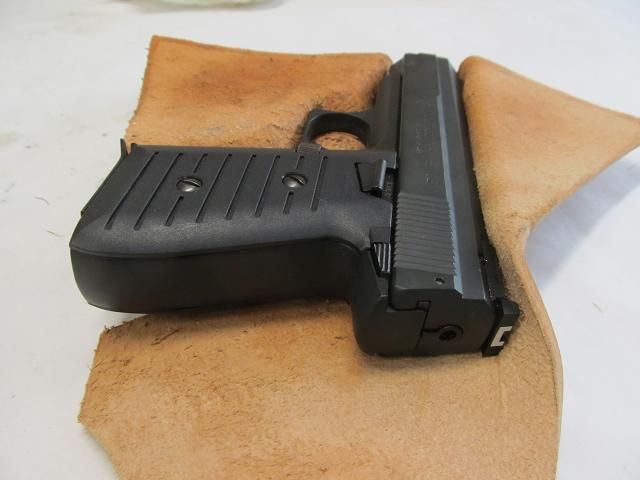
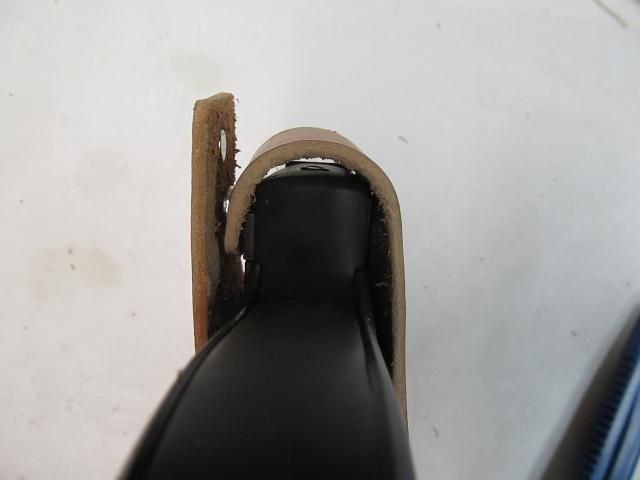
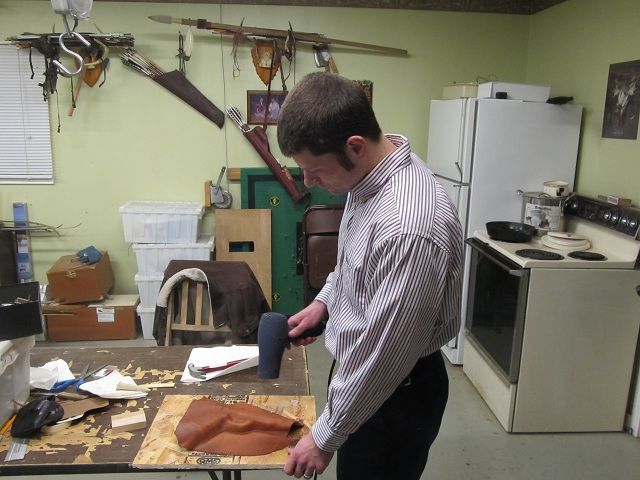
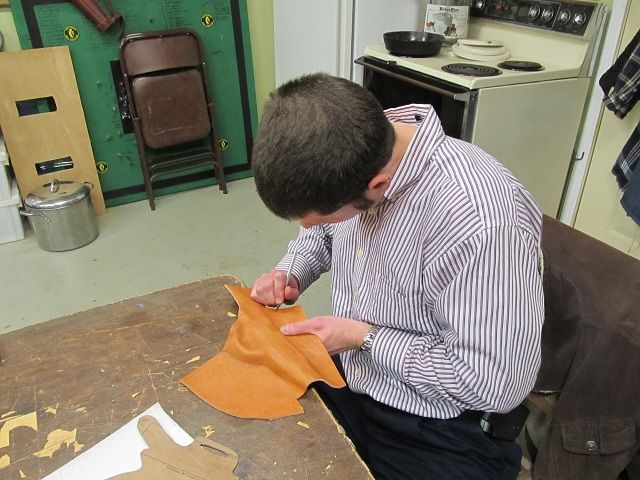
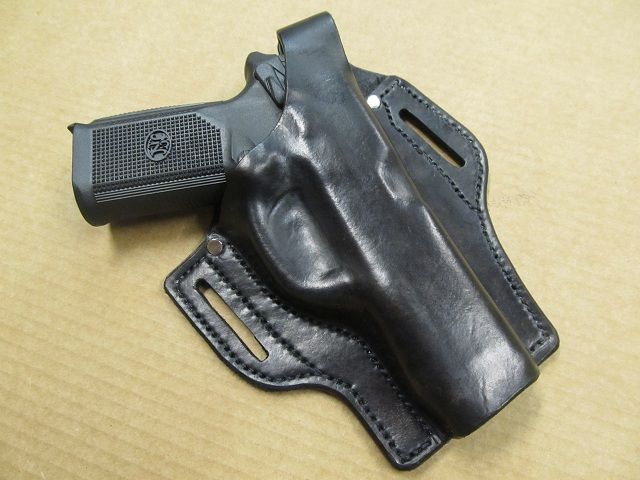
Once we settled on the pattern we cut some 8 Oz. tooling leather. We wetted the leather and wet formed it to shape and contours of the handgun. We use a hand dryer to dry and lock the shape into the leather.
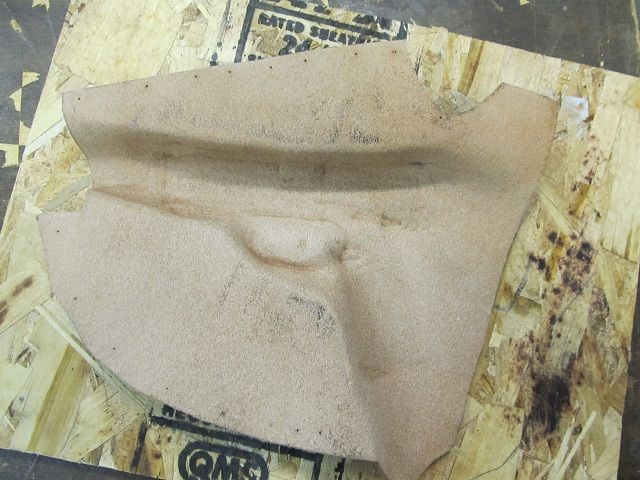
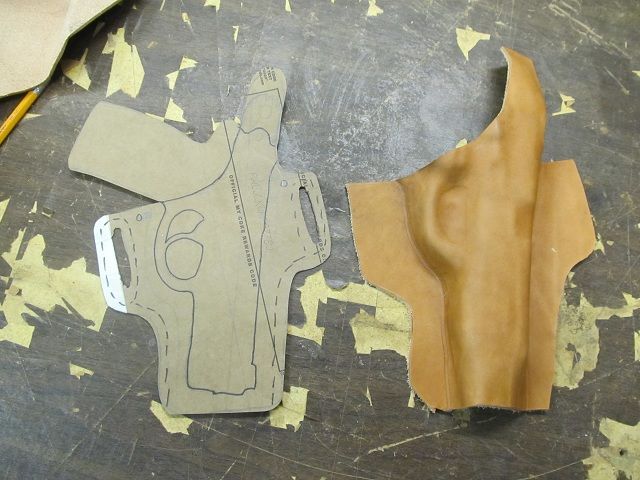
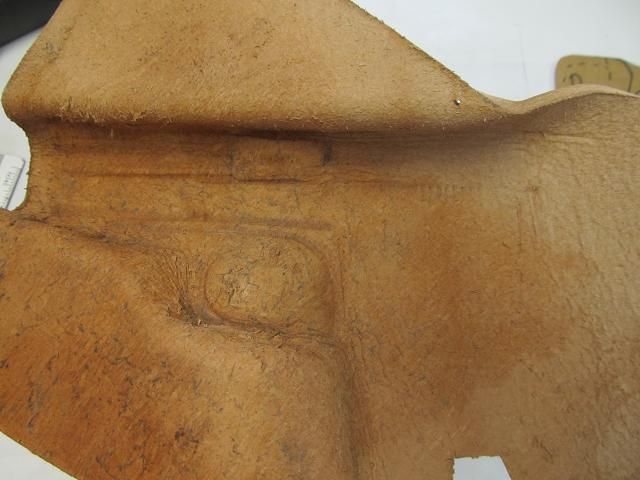
Then he cut out a more refined shape.
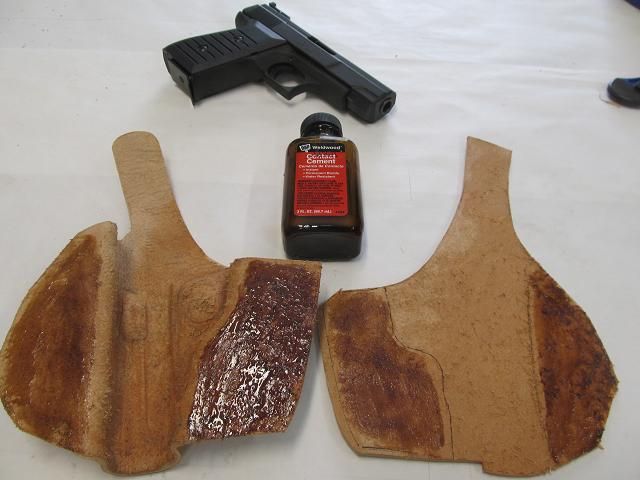
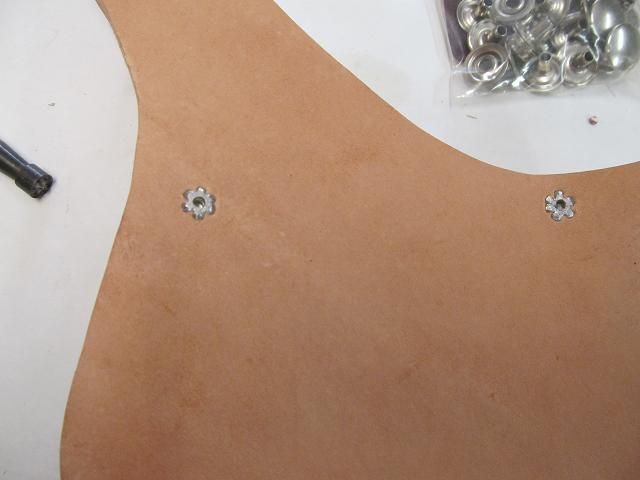
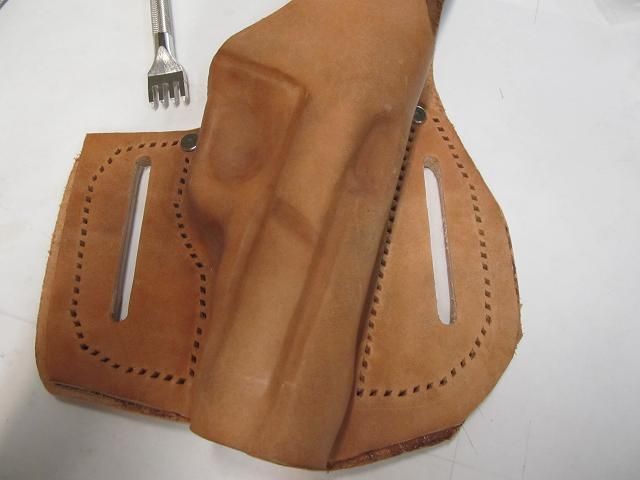
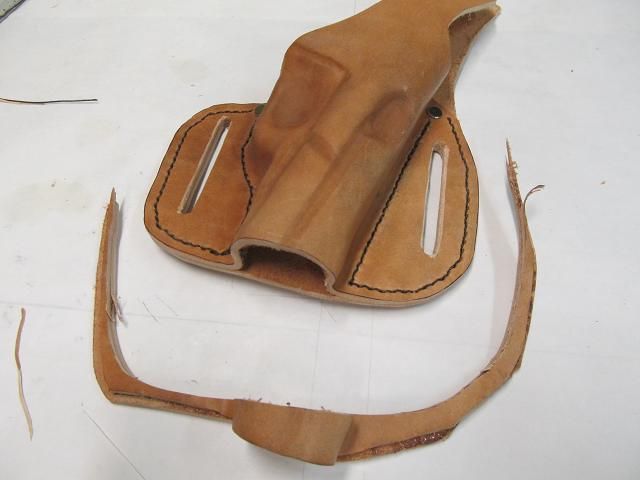
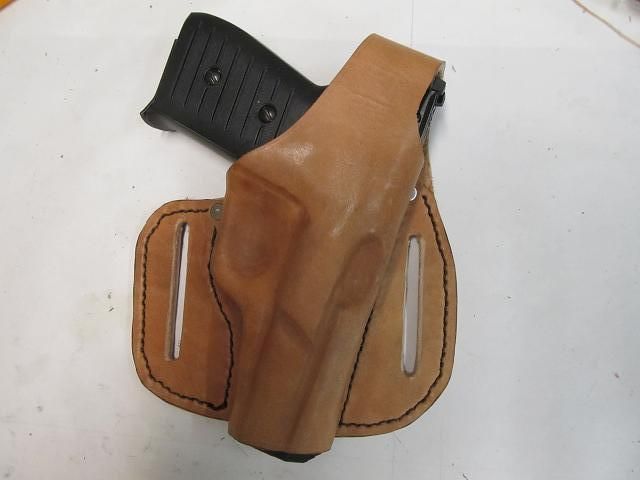
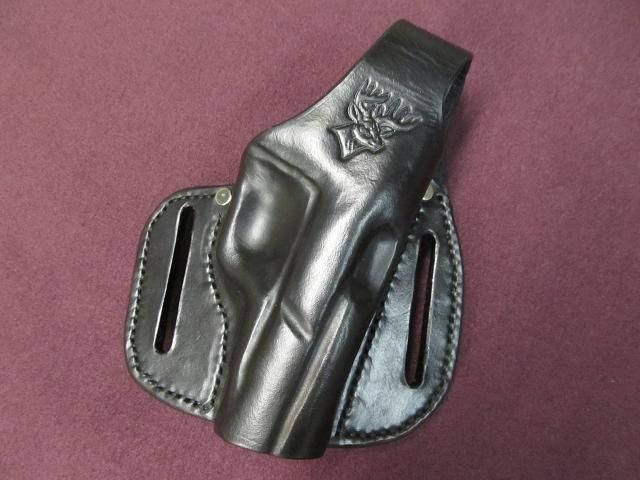
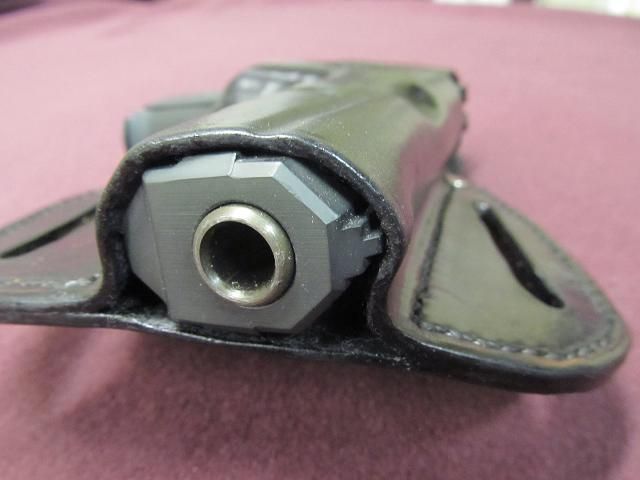
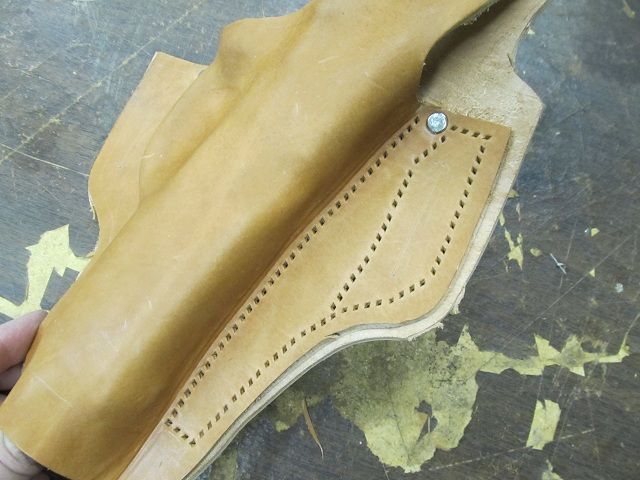
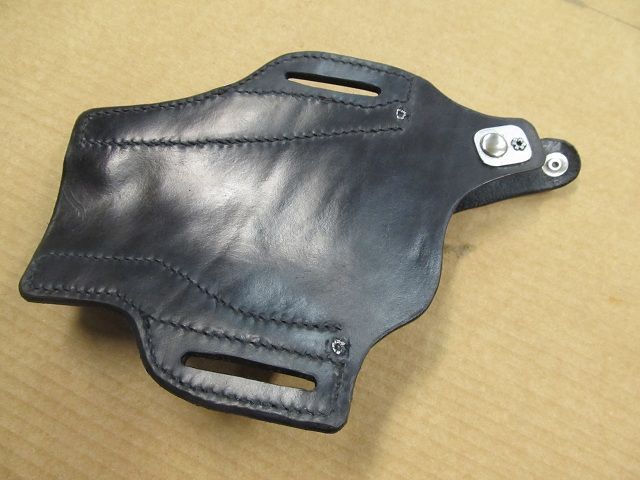
A backing piece of the same thickness was cut and after stamping stitching holes, the two parts were hand stitched together. Then we cut belt loops
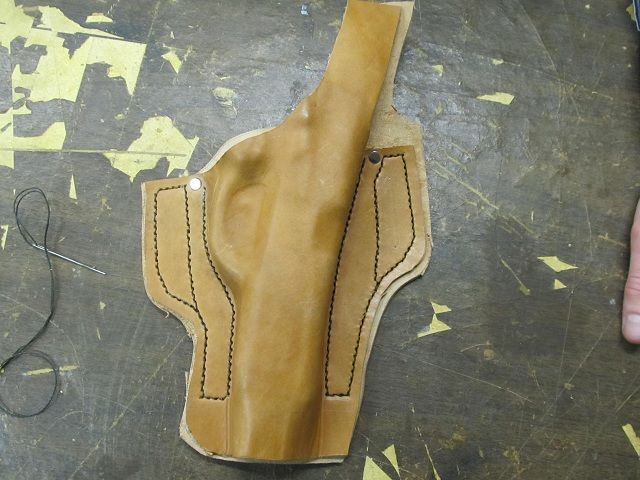
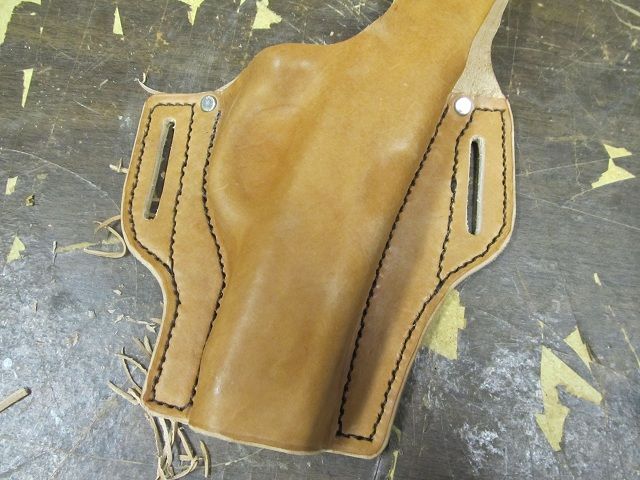
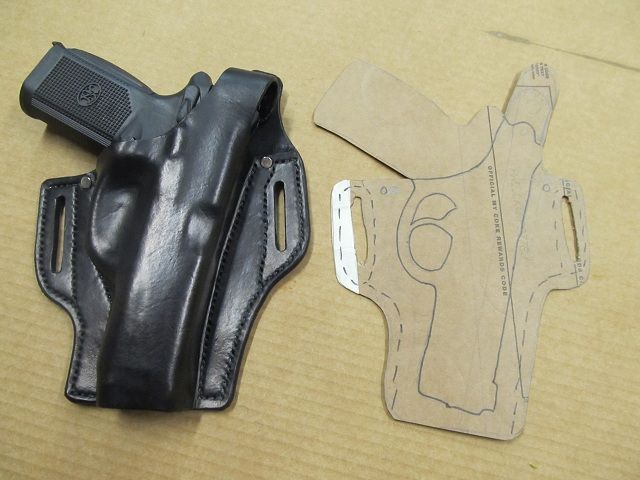
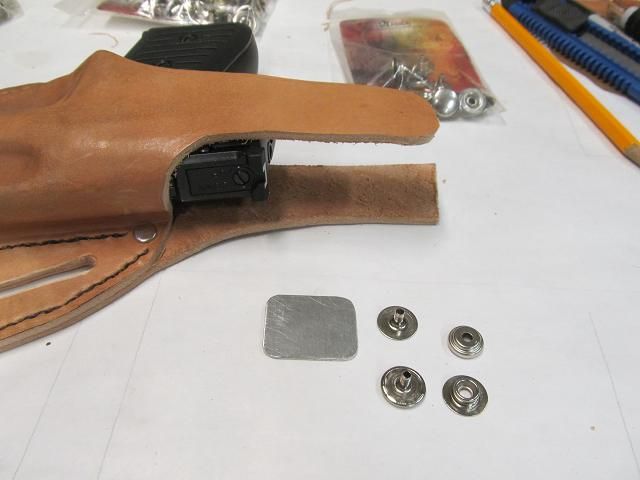
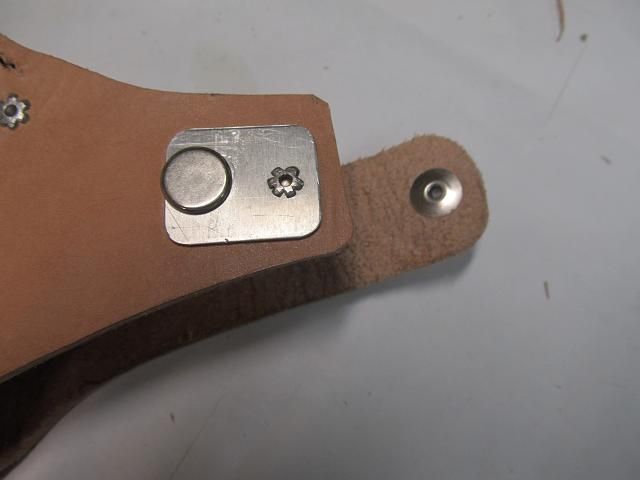
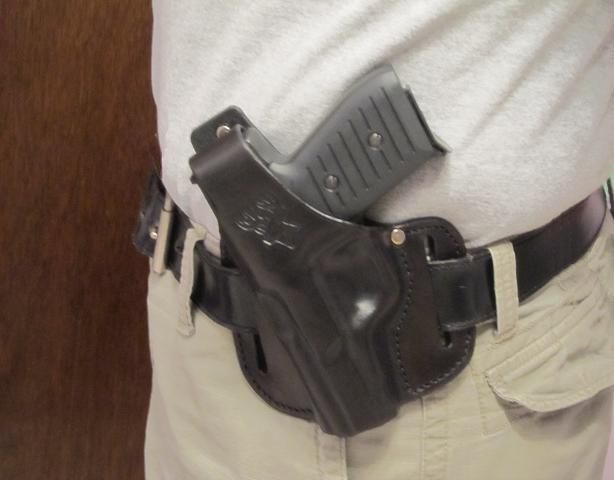
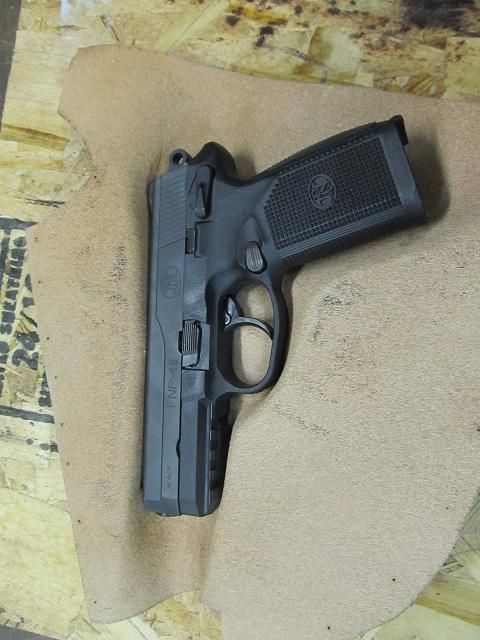
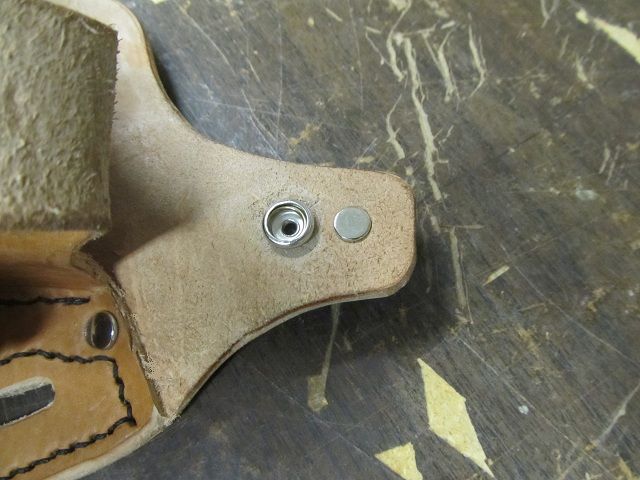
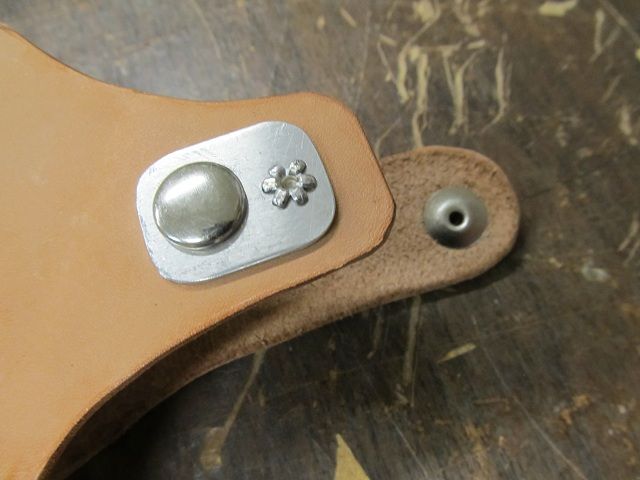
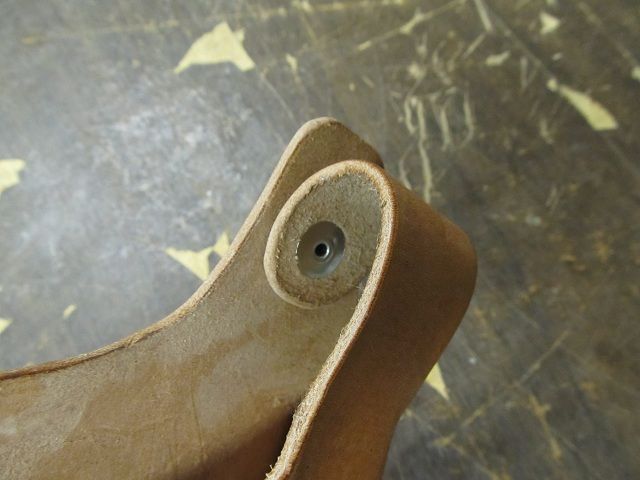
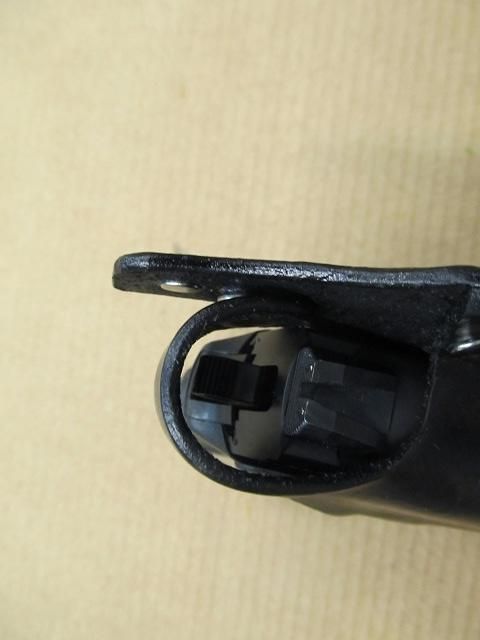
He had a holster for a snub nosed revolver he brought along because it featured a quick snap feature for the thumb and he wanted that feature on this holster. After a little experimenting, this is how it looks.
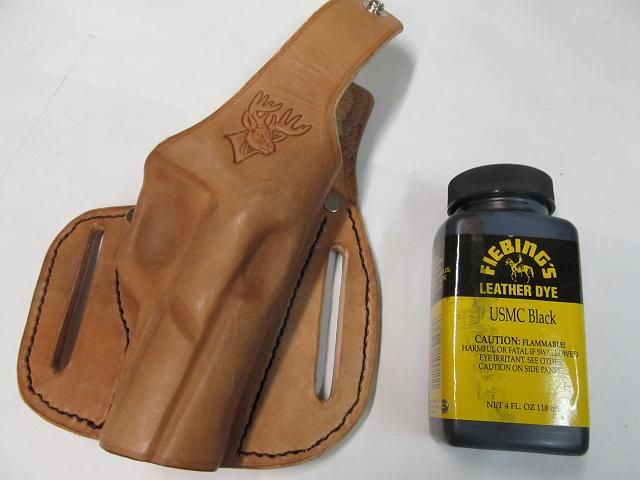
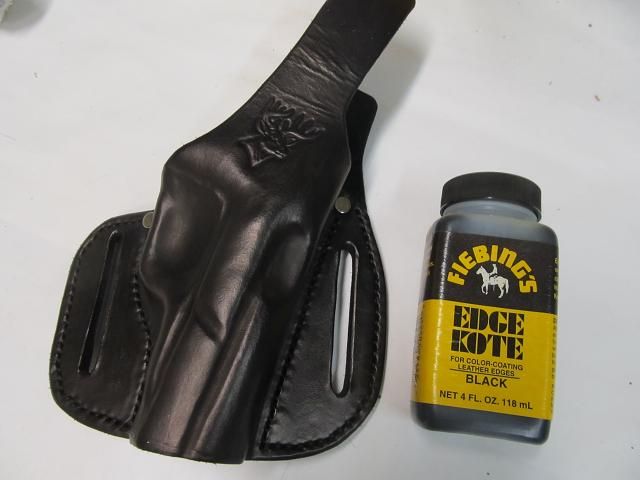
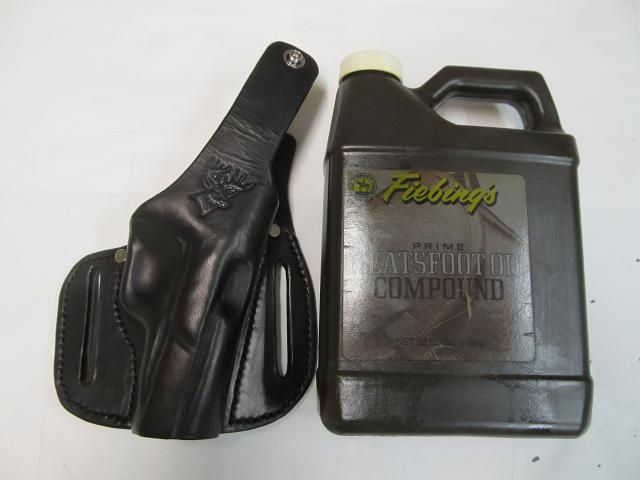
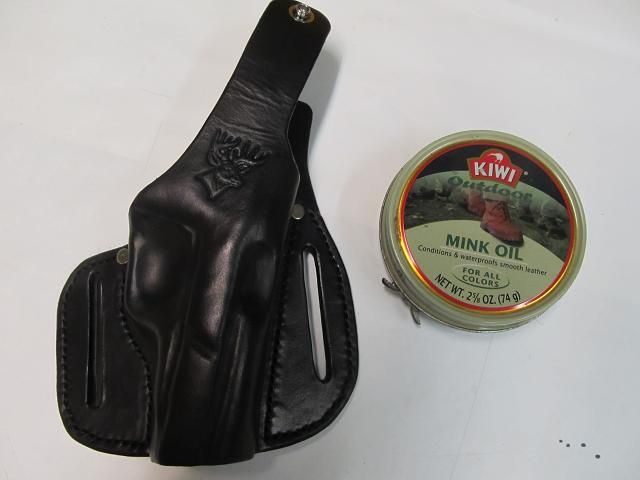
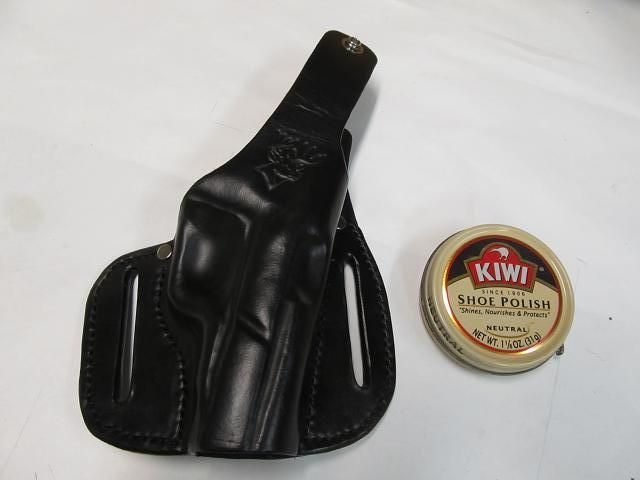
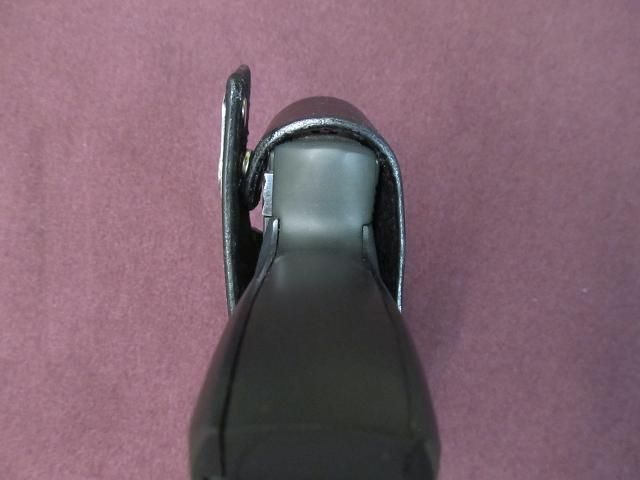
Then we gave the holster a deep dark black die job followed by a good soaking in neatsfoot oil to restore the oils lost during working the leather. Then we rubbed it down with warmed mink oil to waterproof. He (and I) are pleased with the results.
In all he made 3 trips to my shop that were each 3 hours long for a total of 9 hours to construct but this was a hands on learning project and could be repeated in about 4 hours.
Teaching holster building
Forum rules
No selling of leather goods unless you are a sponsor.
Teaching holster building
The Joy is in the doing.
Re: Teaching holster building
My uncle-in-law won a 9mm handgun in a volunteer fireman’s raffle/fundraiser. It didn’t come with a holster. He wants to wear it while bowhunting and asked if I would make him one. I was more than happy to do it.
I make holsters and knife sheathes from 6 to 8 Oz tooling leather so I always have a good supply on hand.
It’s a small handgun so scraps will work.
I make all my patterns from “crapalloy” which can be found in empty cereal boxes of 24 packs of soda. It creates the rough concept or outline.
Then the face is wet, allowed to normalize and is then wet fitted to the contour of the handgun with antlers and bones and wooden shaping tools.
It spent Sunday afternoon in the sun to dry and forever lock in that shape.
A backing piece is made of the same leather and contact cement holds the pieces from shifting during sewing and riveting and belt loop cutting.
Tubular rivets are used in high stress areas.
Then stitching holes and belt loops are made.
After hand stitching the excess is trimmed.
I need to make a thumb snap feature.
So far so good.
He wants it black and it don’t get any blacker than USMC black.
Then edge coat is applied to all the cut edges to keep the fray and swelling down.
The oils need to be restored.
And then waterproofed inside and out.
And then a good shine.
Then I gave it a test drive.
The Joy is in the doing.
-
- Site Admin
- Posts: 12818
- Joined: Tue Aug 26, 2014 8:19 pm
Re: Teaching holster building
Yes, the list is quite long. My wife is keeping it. I looked at it the other day before she caught me. I saw things like
Toilet seat, Dishes, making bed, etc.
The Joy is in the doing.
-
- Site Admin
- Posts: 12818
- Joined: Tue Aug 26, 2014 8:19 pm
Re: Teaching holster building
Well, I got you there. I can do dishes. Just open the door on the water-spray thingie, load in the dishes, add soap and press buttons. Water spray thingie makes firehose noises then gurgling sounds. Dishes are clean!Stay Sharp wrote:Yes, the list is quite long. My wife is keeping it. I looked at it the other day before she caught me. I saw things like
Toilet seat, Dishes, making bed, etc.
Aim small, miss small!
Re: Teaching holster building
Got me there also, I was afraid to read on after "open door on water spray thingy"!