Quiver Build Along

How to's, questions and build alongs for those who make or want to make their own gear made from leather. Get some tips on how you can make your own quiver, arm guard, etc. to go along with your Custom Traditional Bow.
Forum rules
No selling of leather goods unless you are a sponsor.
Message
Author
Cameroo
Posts: 19
Joined: Sat May 21, 2011 5:20 pm

Quiver Build Along

#1 Post by Cameroo »

Hey guys. I just joined this forum today and this will be my first post. I noticed this Leather Crafting section is quite bare, so I figured I could contribute by sharing some leatherworking I've done recently. I just began leather crafting over the last winter, making some arm guards and quivers for myself, and did a few build-alongs on other forums. I appologize to those of you who may have seen this already. This is just a copy and paste job from my posts on another site. Here it is:

Part 1

I started working on a quiver for myself today, and figured I'd share my progress as I went, so that maybe some other experienced leatherworkers can keep me from screwing up :) 

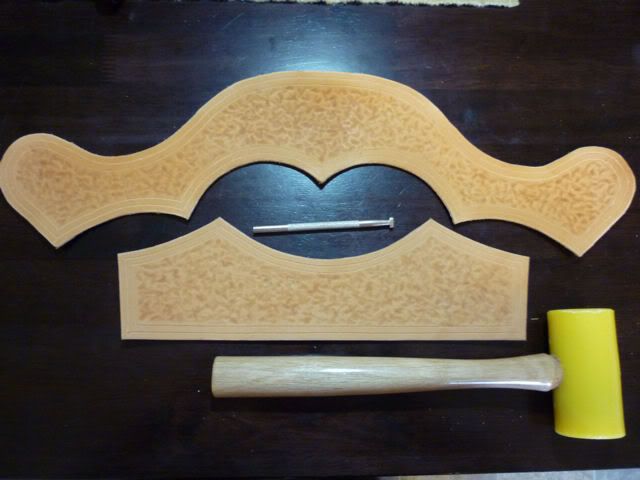
I picked up some nice heavy latigo (9-10 Oz) to use, since my first attempt with some lighter oil tanned leather turned out to be a tad flimsy.  I also plan on tooling some veg-tanned leather pieces to "pretty it up" a bit.

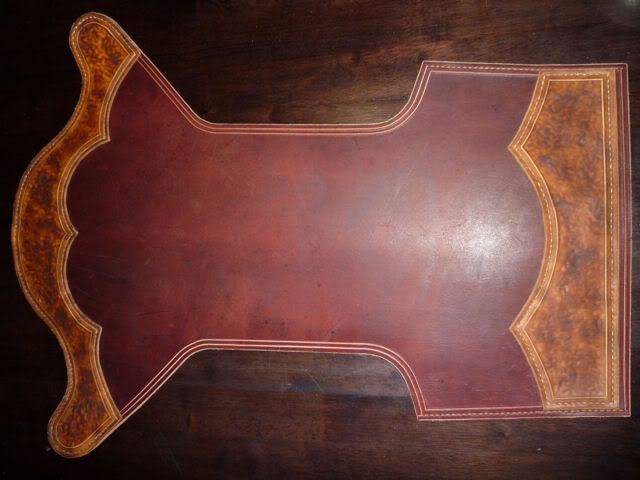
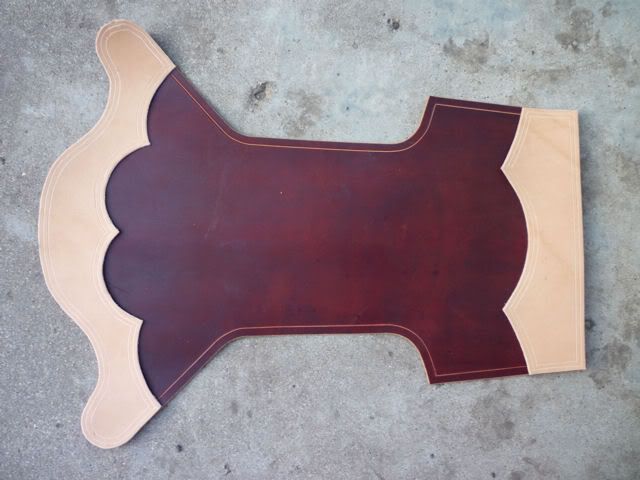
So far all I've done is cut out the pieces, cleaned up the edges with an edge beveller, and carved in some grooves for the stitching, and for decoration.  I'm just making up the patterns as I go, but hopefully everything will fit together once it's stitched up.  One thing that has to be taken into account when adding these accent pieces of veg tanned leather, is that they will have to be slightly longer to fit around the outside circumference of the latigo once it's rolled up.  What looks like it will line up nice when it's layed out flat will actually come up short once it's rolled into a tube.

Here's what I've got so far.  Probably going to tool the accent pieces next, and then start the tedious stiching.  I think I might add some wool shearling to the top opening on the inside, to keep the arrows quiet, but I'm not sure if that's necessary.
Image

Cameroo
Posts: 19
Joined: Sat May 21, 2011 5:20 pm

Re: Quiver Build Along

#2 Post by Cameroo »

Part 2

I finally got some more work done on this sucker today.  It didn't go exactly to plan, but turned out ok.  Here's how one "oops" turned into another, and then everything eventually came together.

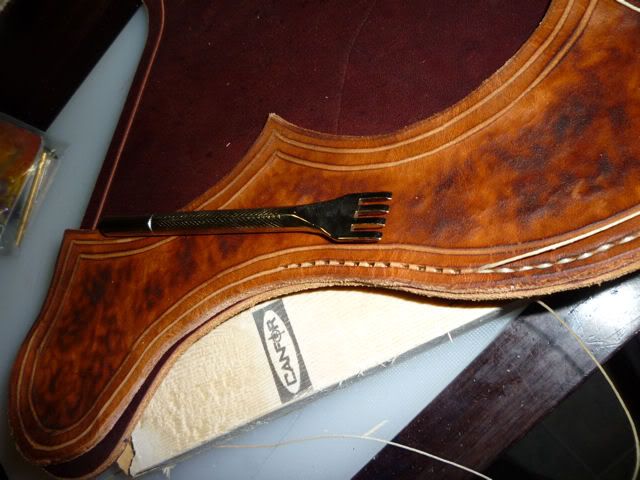
I started with tooling the accent pieces.  I just randomly hammered them with a pear shader stamp because I didn't want to spend a bunch of time tooling.

Image

After that, things started going downhill.  I decided to apply some beeswax to the edges to keep the loose fibers down, and got a bit on the top surface too.  Then I figured the sealant I planned on using wouldn't penetrate the beeswax, so I rubbed wax on the whole thing.  I noticed the wax chunking up on the surface so I figured I'd put it in the oven a bit to let the wax melt and soak in.  While spreading the melted wax around on the first piece, I left the other one in a bit too long, and it got a bit toasted.  Great...

I didn't want to start again from scratch, so I decided maybe I'd try scorching the rest of the pieces with a torch to even it out.  It turned out looking ok, but through the whole heating process, the pieces ended up shrinking quite a bit.  I was about ready to give up for the evening, but figured I would try to soften it up with warm water, despite already having coated it in wax and mink oil.  Luckily it soaked up enough to make it pliable enough to stretch a bit.  What a relief :)  So I spent the next couple hours hand stitching, and wishing I had chosen another way to attach it.  What a boring job that was, and I'm not even half done.

Image

Anyway, that's as far as I got tonight.  Thanks for looking.

Image

Cameroo
Posts: 19
Joined: Sat May 21, 2011 5:20 pm

Re: Quiver Build Along

#3 Post by Cameroo »

Part 3

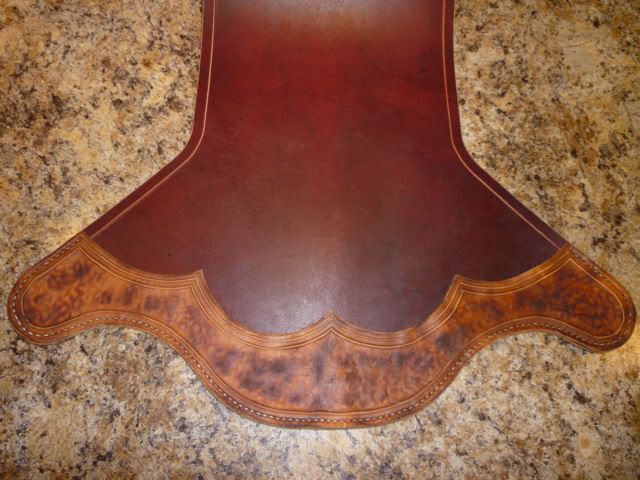
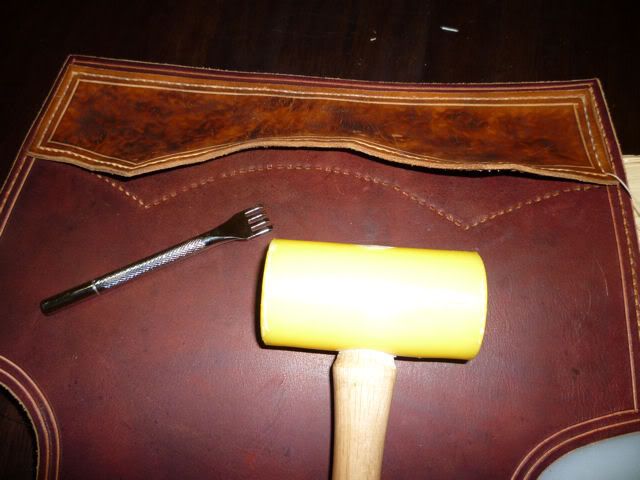
Well I got some time this afternoon to get some more done.  I finished stitching the accent pieces on (my least favorite part of the job).

Image
Image

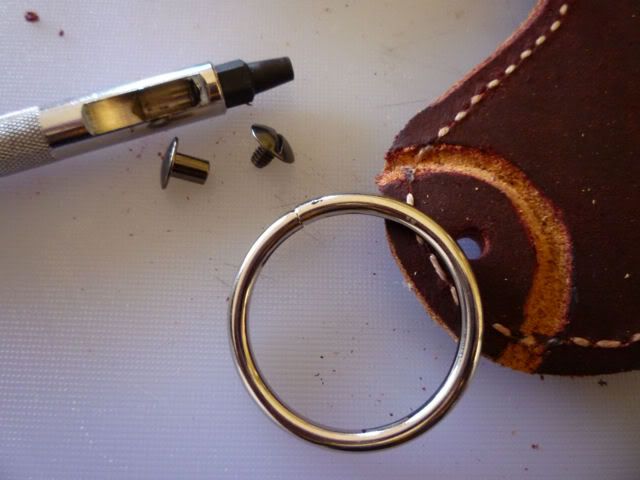
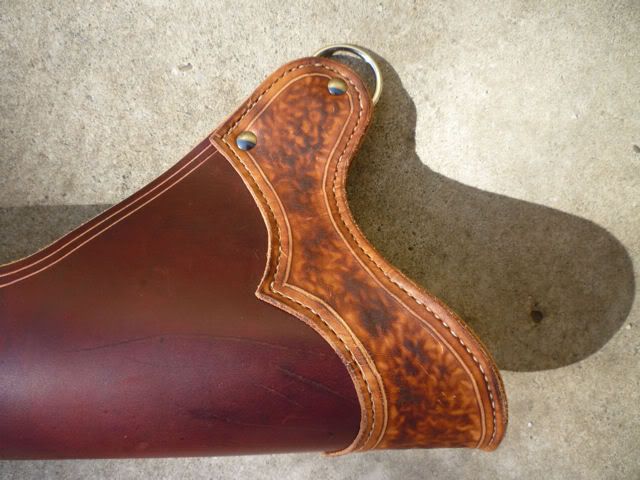
Then I started wondering about how I was going to attach the strap.  I decided on using these rings I had, but had to do a bit of carving to countersink it into the leather, because otherwise the screw posts I wanted to use instead of rivets would have been too short.

Image

I got the ring put in and added another screw post to help hold it together.

Image

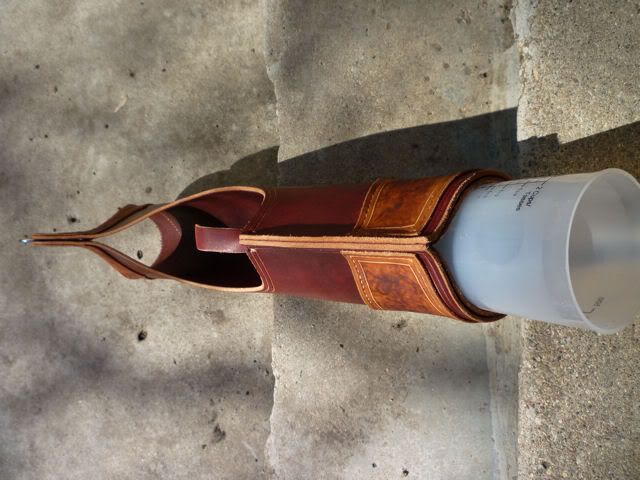
For the other end of the strap, I stitched a short piece of the strap to the bottom of the side opening.  At this piont, I cut a 1/2 inch wide strip of latigo and glued it around the inside circumference of the hole in the bottom.  This will keep the bottom from falling out when it's inserted.  I held it in place with a measuring cup that just happened to be the right diameter while it dried.

Image

Next I took a 3/4" latigo strap, rounded the ends and beveled the edges, punched some holes, and attached to the quiver with a couple more screw posts.  I love these things - much more easy to remove than rivets :)

And that's where it's at.  Still gotta put a bottom in, but that won't take long.

Image

Cameroo
Posts: 19
Joined: Sat May 21, 2011 5:20 pm

Re: Quiver Build Along

#4 Post by Cameroo »

Part 4

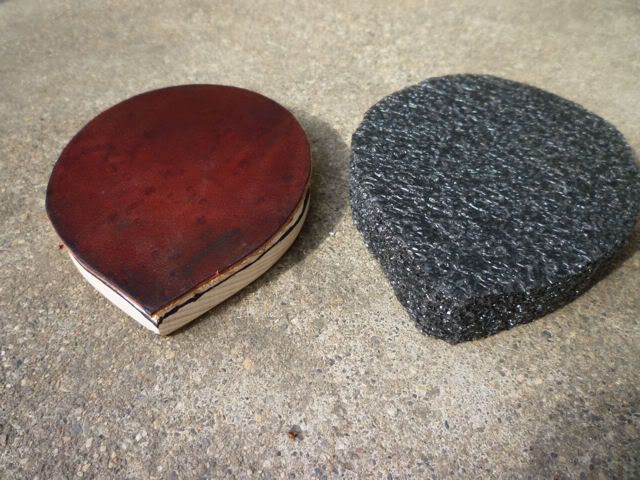
Got this sucker finished up today.  Last night I set the bottom end on a piece of paper and traced inside the bottom opening to make a pattern for the bottom.  I added about 1/8" around the outside of the pattern so that when I put it in, the bottom would sit on top the strip of leather I glued in before.  I transfered the pattern onto a piece of 2x4 that I ripped about 3/8 thick on the tablesaw and roughed it out, and finished sanding on the belt sander.  This took a bit of back-and-forth to get the right fit because I wanted it to fit tight.  After that was done I cut a piece of latigo the same size and glued it on, letting it dry overnight.  I cut a piece of foam (about 1/2 inch thick) slightly oversized again, so that it was a friction fit.
Image

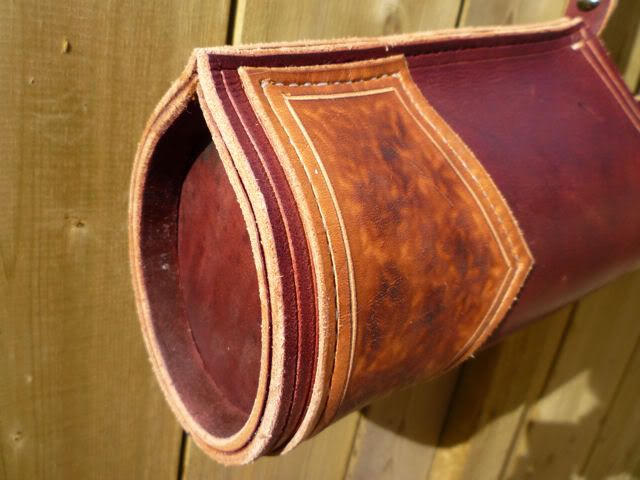
Here's a close up of the bottom.
Image

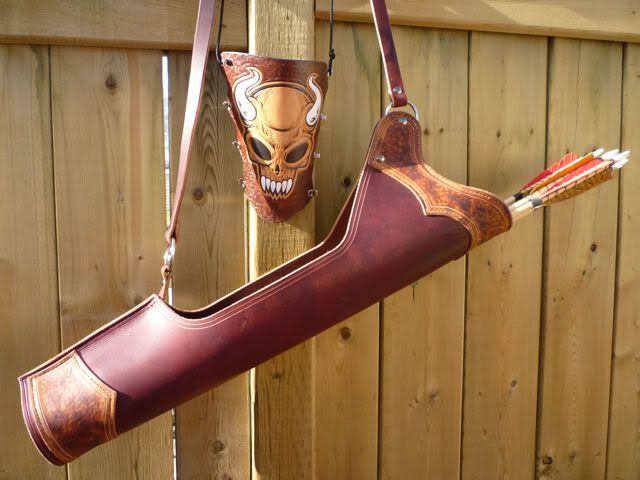
And one last picture to show how it ballances.  It sits real nice on the shoulder. 

Thanks for following along.

Image

Coaster500
Posts: 169
Joined: Sun Apr 10, 2011 10:33 am

Re: Quiver Build Along

#5 Post by Coaster500 »

Wow!!

What a beautiful job... I am so jealous of your skill...

Well done :)
''Life's tough, pilgrim,and it's even tougher if you're stupid.'' JohnWayne

Coaster500
Posts: 169
Joined: Sun Apr 10, 2011 10:33 am

Re: Quiver Build Along

#6 Post by Coaster500 »

Where did you get your pattern?

Did your design it?
''Life's tough, pilgrim,and it's even tougher if you're stupid.'' JohnWayne

Cameroo
Posts: 19
Joined: Sat May 21, 2011 5:20 pm

Re: Quiver Build Along

#7 Post by Cameroo »

Thanks. And yes, I made the pattern myself.

User avatar
Tradman
Posts: 1833
Joined: Fri Mar 11, 2011 11:53 pm

Re: Quiver Build Along

#8 Post by Tradman »

Thats awesome man...maybe you should ship that baby to me for some serious testing.
IT'S NEVER WRONG TO DO WHAT'S RIGHT AND IT'S NEVER RIGHT TO DO WHAT'S WRONG....LOU HOLTZ

User avatar
RUSTY
Posts: 128
Joined: Tue Mar 29, 2011 1:17 pm

Re: Quiver Build Along

#9 Post by RUSTY »

Awesome Cam!!
Rusty

"If we must die, we die defending our rights!"-Sitting Bull <---<<<

TradRat
Posts: 305
Joined: Mon Mar 28, 2011 11:04 am

Re: Quiver Build Along

#10 Post by TradRat »

That is freaking awesome! Great looking quiver and build a long. Thanks! :D
"It is not the end result but, the lessons and the journey of the hunt that count!" TW Lanoy

Post Reply

Return to “Leather Crafting”